Wallpaper Removal Guide: What Atlanta Homeowners Should Know Before Painting
Learn how Atlanta homeowners can safely remove wallpaper before painting, prepare walls for a smooth finish, avoid common mistakes, and know when professional wallpaper removal is the better option.
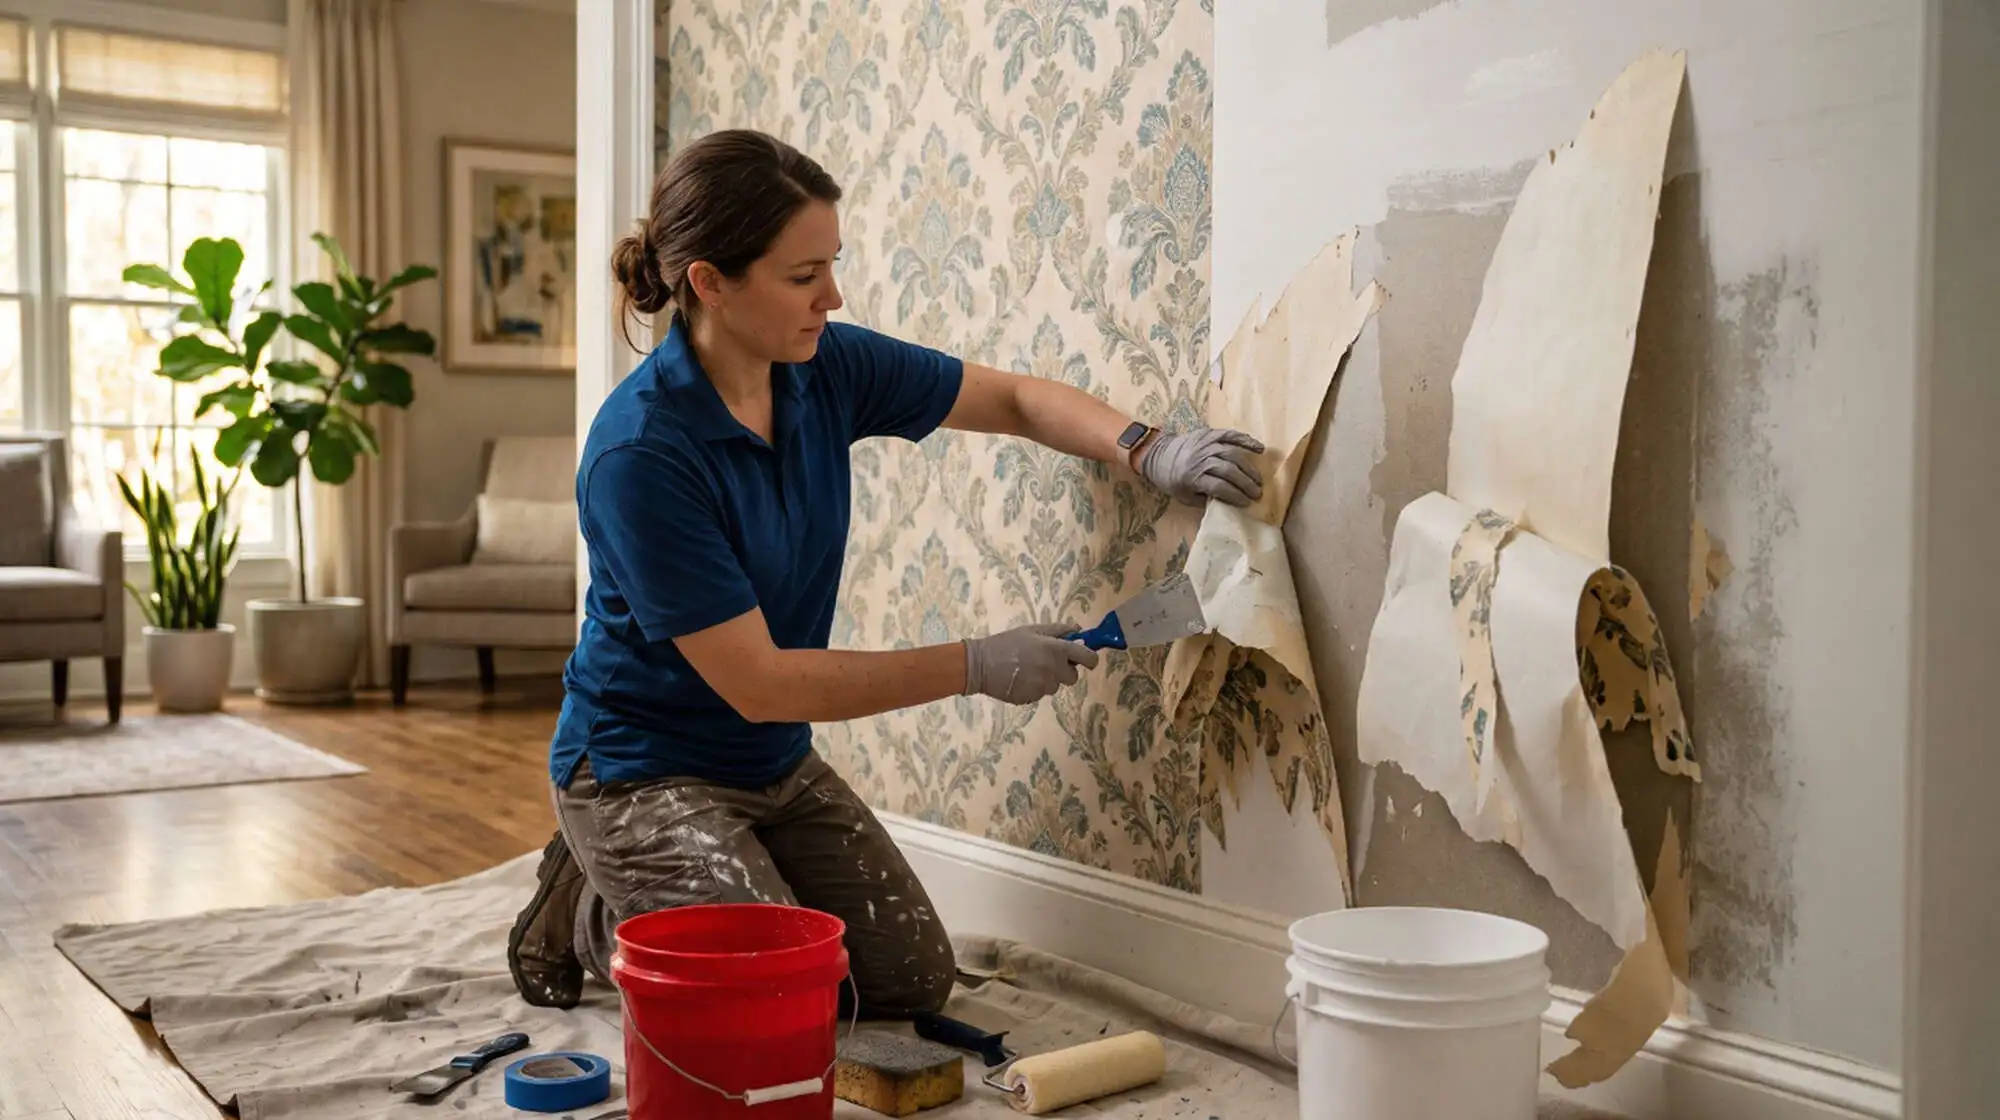
If you are planning to repaint a room that still has wallpaper, removing or properly preparing the wallpaper should be one of your first decisions. Painting directly over loose, textured, or poorly bonded wallpaper can lead to bubbling, visible seams, peeling edges, and an uneven finish.
Fresh paint contains moisture, and that moisture can soften old wallpaper paste. When the adhesive begins to release, problems hidden beneath the surface may appear weeks or months after the project is finished. For many Atlanta-area homes—particularly older properties or rooms with several layers of wallpaper—careful removal and wall preparation provide a more reliable foundation for painting.
This guide explains how wallpaper removal works, what can go wrong, when DIY removal makes sense, and when professional help may save time and prevent drywall damage.
Why Wallpaper Removal Can Be Difficult
Wallpaper removal may appear straightforward: lift a corner, peel the paper, wash the wall, and paint. In reality, the process depends on the wallpaper type, adhesive, number of layers, wall material, and condition of the surface underneath.
Common complications include:
- Multiple layers of wallpaper.
- Vinyl-coated wallpaper that resists water.
- Wallpaper installed over unprimed drywall.
- Painted-over wallpaper.
- Adhesive that has hardened over time.
- Plaster walls or fragile drywall.
- Water damage behind wallpaper.
- Mildew in kitchens, bathrooms, or poorly ventilated rooms.
The first layer may come off easily while the backing paper remains attached. That backing can absorb moisture from primer or paint and create bubbles. Leftover adhesive may also cause crackling, uneven sheen, or poor adhesion.
Rushing removal creates another problem. Pulling too hard or scraping aggressively can tear the paper face of drywall. Once the drywall paper is damaged, the wall may require sealing, patching, skim coating, sanding, and additional priming before it is ready for paint.
Inspect Before You Start
Before choosing a removal method, examine the wallpaper and the wall around it. Look for loose seams, lifted corners, tears, bubbles, stains, or areas that feel soft when gently pressed.
Try to determine whether the wallpaper is:
- Strippable.
- Peelable.
- Vinyl-coated.
- Traditional paper.
- Painted over.
- Installed in multiple layers.
A small test area can reveal how the paper behaves. Carefully lift a corner with a putty knife. If the face separates cleanly and the backing remains intact, the wallpaper may be relatively easy to remove. If the wall surface begins tearing, stop and reassess the method.
Do not ignore stains or soft spots. Wallpaper can conceal plumbing leaks, condensation damage, or deteriorated drywall. Painting over those conditions will not solve the underlying problem.
How Professional Removal Works
A careful wallpaper removal project usually follows a planned sequence rather than a single scraping step.
1. Protect the room
Floors, trim, outlets, fixtures, and furniture should be covered before water or removal solution is applied. Adequate protection reduces the risk of staining floors or allowing softened adhesive to spread across adjacent surfaces.
2. Identify and prepare the wallpaper
The removal method depends on whether the wallpaper is strippable, coated, layered, or firmly bonded. Some surfaces require light scoring so moisture can reach the adhesive. Scoring must be controlled; excessive pressure can damage the drywall beneath.
3. Soften the adhesive
Water or an appropriate wallpaper-removal solution is applied in manageable sections. The solution needs time to loosen the paste, but the wall should not be saturated. Excess moisture can soften drywall paper and create more repair work.
4. Remove the face and backing
The decorative face may come away first, leaving a thin paper backing. Both layers need to be addressed. Leaving the backing behind can create visible seams and adhesion problems under primer and paint.
5. Wash away paste
Residual adhesive can be difficult to see once the wall dries. The surface should be washed and checked by hand for tacky or slick areas. Any remaining paste can interfere with primer and cause the finish coat to fail.
6. Repair the wall
After the wall is dry, inspect it for gouges, torn paper, dents, cracks, and uneven areas. Repairs may include patching, sealing damaged drywall paper, skim coating, and sanding.
7. Prime before painting
Primer helps seal repairs and creates a consistent surface for the finish coat. The appropriate primer depends on the wall condition, stains, and paint system being used. A wall is not truly paint-ready until it is clean, smooth, dry, and properly primed.
Dunwoody Painters describes its wallpaper removal process as protecting the room, removing paper and adhesive, repairing and smoothing the wall, then priming and painting when requested.
DIY or Professional Removal?
DIY wallpaper removal can be reasonable for a small project with one easily removable layer and sound drywall underneath. A homeowner who has patience and time may be able to remove a single strippable accent wall without professional assistance.
Professional removal is worth considering when:
- Several layers are present.
- The wallpaper has been painted.
- The surface is vinyl-coated or difficult to penetrate.
- Drywall appears fragile or damaged.
- The walls are plaster.
- Water stains or mildew are visible.
- The project involves several rooms.
- You need the walls painted on a specific schedule.
- You are concerned about dust, debris, or lead-safe work practices.
The visible task—peeling the wallpaper—is only part of the project. The repair and preparation afterward often require more time than expected. A weekend removal attempt can become a longer drywall-repair project if the wall’s paper face is torn or large sections require skim coating.
For that reason, compare the full project rather than the removal price alone. A professional estimate should explain whether it includes adhesive removal, wall repairs, sanding, primer, cleanup, and painting.
What It May Cost in Atlanta
Wallpaper removal pricing varies considerably from one home to another. The number of layers, wallpaper type, wall condition, room access, and amount of repair work all affect the final price.
A contractor may need to account for:
- Removing one layer versus several layers.
- Wallpaper installed over drywall or plaster.
- Painted or vinyl-coated surfaces.
- Extensive adhesive residue.
- Skim coating and sanding.
- Repairs around windows, corners, and trim.
- Furniture protection and room accessibility.
- Disposal and cleanup.
- Primer and finish painting.
Some local estimates may be calculated by wall area, while others may be based on labor, room size, or the complete removal-and-painting scope. Treat online price ranges as general planning information rather than a guaranteed quote. An in-person or detailed photo estimate is more dependable because the condition beneath the wallpaper is not always visible in advance.
Ask for a written proposal that separates wallpaper removal, repairs, priming, and painting. This makes it easier to understand what is included and reduces the possibility of unexpected charges.
Older Atlanta Homes and Lead Safety
If your home was built before 1978, old paint layers beneath the wallpaper may contain lead. This is especially important if the work will involve sanding, scraping, cutting, or otherwise disturbing painted surfaces.
The EPA recommends using a lead-safe certified contractor for covered renovation, repair, and painting work in pre-1978 homes and child-occupied facilities. Georgia’s Environmental Protection Division also provides information for homeowners about lead-based paint and renovation requirements. epa
Before work begins, ask:
- When was the home built?
- Will the work disturb painted surfaces?
- Is the firm certified for applicable lead-safe work?
- How will the area be contained?
- How will dust and debris be collected?
- What cleaning process will be used before the room is returned to occupants?
Do not sand or scrape aggressively until you understand the condition and age of the layers beneath the wallpaper. When in doubt, seek appropriate testing or professional guidance.
How to Prepare for a Contractor
You can help the project run smoothly by clearing small items from the room and identifying areas that concern you. Point out previous leaks, repaired cracks, loose wallpaper, or walls that have been painted before.
Before accepting an estimate, ask:
- Will all wallpaper layers be removed?
- Is adhesive washing included?
- What happens if drywall paper is damaged?
- Are skim coating and sanding included?
- Which primer will be used?
- How long must the wall dry before painting?
- Who moves and protects furniture?
- How will daily cleanup be handled?
- Are repairs included or priced separately?
- What warranty applies to the completed work?
A professional painting contractor should explain the process clearly and document the scope in writing. Dunwoody Painters states that its wallpaper removal service includes removal of paper, backing, and adhesive, surface repair, skim coating, protection, cleanup, and either a paint-ready or painted result.
When Painting Over Wallpaper May Work
Removing wallpaper is usually the preferred option, but there are limited situations where painting over it may be considered. The wallpaper must be firmly bonded, free from bubbles and loose seams, and in good overall condition. The surface may also need special preparation, such as sealing, skim coating, and priming.
Painting over wallpaper is generally a poor choice when:
- Seams are visible or lifting.
- The paper is textured.
- There are several layers.
- The wallpaper is damaged.
- Adhesive is failing.
- Moisture or mildew is present.
- The wall requires significant repairs.
The decision should be based on the condition of the entire surface—not simply whether the wallpaper appears attached at first glance. A contractor can inspect the wall and explain whether removal or encapsulation is more practical.
Final Takeaway
Wallpaper removal is not finished when the paper comes off. The wall still needs to be cleaned, dried, inspected, repaired, smoothed, and primed before it can support a durable paint finish.
For a small, single-layer project with sound drywall, DIY removal may be manageable. Older wallpaper, multiple layers, painted surfaces, plaster, water damage, and large areas are better evaluated by an experienced professional.
Dunwoody Painters provides wallpaper removal, drywall repair, priming, and interior painting for homeowners in Dunwoody and metro Atlanta. The company states that it offers free estimates and a written 2-year workmanship warranty on completed projects.
Common questions
Frequently Asked Questions
Related painting articles
More helpful painting guides

Wallpaper Removal: A Practical Guide Before You Paint
Why painting over wallpaper fails, how professional removal works, and what it costs.
How to Prepare Your Home for Interior Painting
A simple homeowner checklist for the week before your painters arrive — what to move, what to cover, and what we handle.
How Often Should You Paint Interior Walls?
A room-by-room repaint schedule for Georgia homes, plus the five signs your walls are overdue for fresh paint.